✅ Sign up for Epidemic Sound with code: SUMMERSHARON at https://www.epidemicsound.com/campaig… With the discount code, you will get two months free on top of the first 30 day trial 🙂
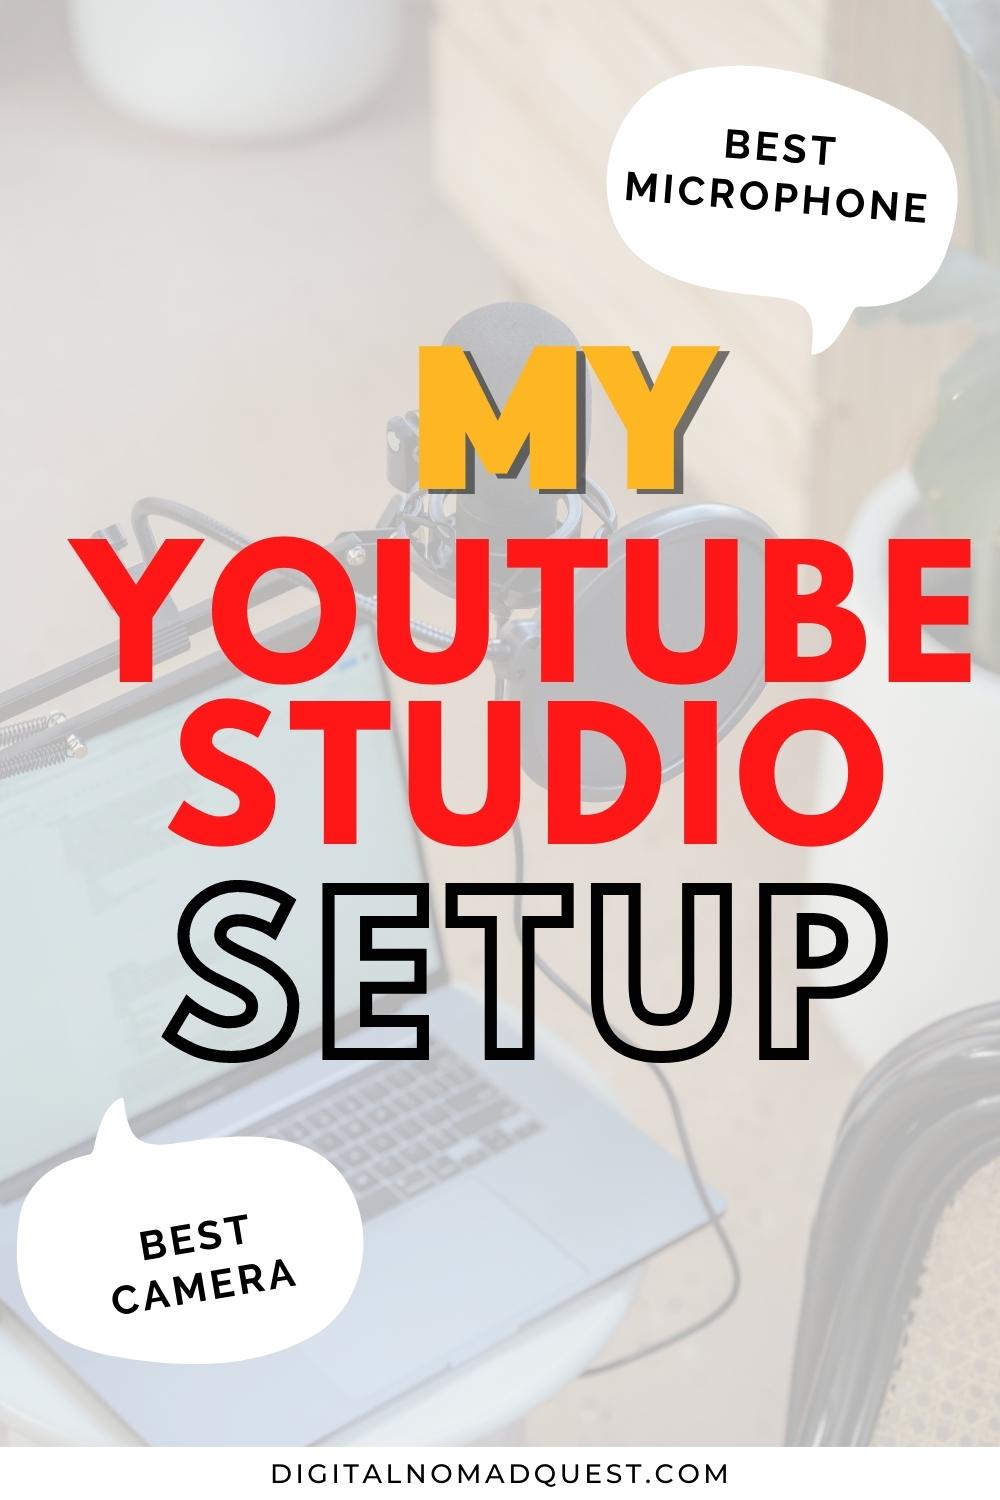
I’ve gotten many inquiries about how to set up a YouTube studio, so I wanted to share my latest YouTube studio setup! I’ve made a few upgrades so I wanted to share with you guys what I’ve added. I hope this helps.
Here is a link to all the resources I mentioned in the video:
https://www.amazon.com/shop/sharonest…
Dream Studio Course (the course I took to help me with my studio):
https://dreamstudiocourse.com/courses…
MY YOUTUBE STUDIO SETUP 2021
Transcription
Below is a transcription of the podcast. This transcription was taken from Otter.ai so it might not be completely accurate:
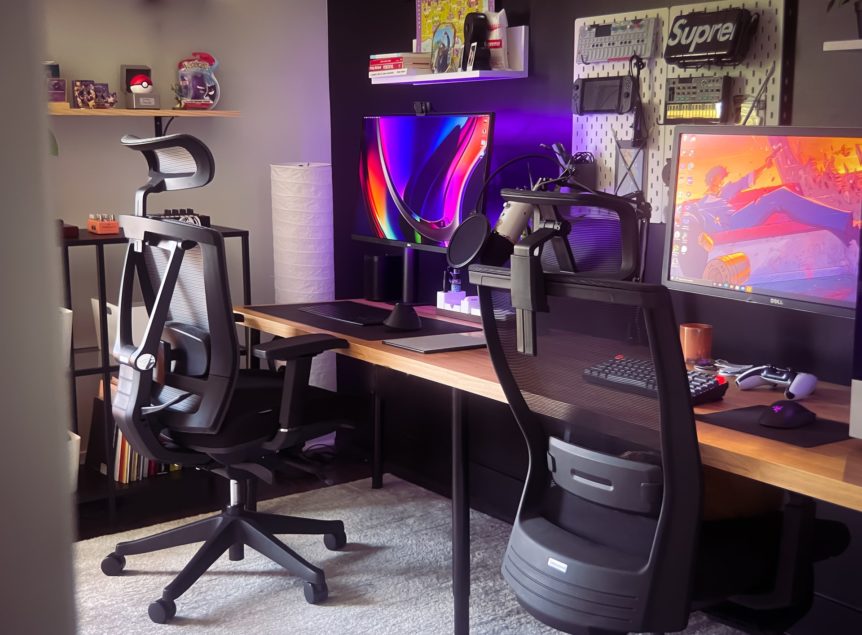
Hey guys, it’s Sharon from digital nomad quest and today we’re gonna go over our new YouTube studio setup. Now if you guys are new to this channel welcome I’m all about teaching how to build passive income become financially free and design your best life. So if you guys are interested in that, make sure to subscribe and hit the bell button to be notified of my latest videos. Now before we begin, I want to thank Epidemic Sound for sponsoring today’s video. I remember when I was on this YouTube panel I hosted a few months back they actually talked about Epidemic Sound as the top place to find royalty free music for your YouTube videos. Basically, if you find random music online claiming to be royalty free, you have no idea if that’s even true, and you have no idea if they’re going to suddenly copyright the music so that it’s going to make your YouTube video demonetized or taken down. That’s why Epidemic Sound is so great. This is not going to happen to you if you use our services. They make royalty free music simple through monthly subscriptions, which gives you full access to professionally produced high quality tracks. They have over 35,000 tracks and 90,000 sound effects which can be used for your videos, your streaming your podcast or social media and even your commercial projects. They even have transition sounds like wishes or clicks that you can actually drop into your videos when you’re editing your content. And the team at Epidemic Sound was awesome enough to give my viewers a discount code called Summer sharing. So go ahead and check it out in the link in the description below. Alright, so now let’s talk about our YouTube studio setup. So I actually created a video back in the past about our previous setup, we’ve made some upgrades since and I kind of want to talk about the new updates. And basically it is pretty important to have a nice YouTube studio setup when you’re creating this type of content when you’re just starting out on YouTube. However, you don’t need all this equipment, you could just start with your phone. But as you start seeing traction, it actually does help when you have a lot of these components afterwards to improve the watch time of your videos. So I’ve found that as we’ve been upgrading, I’ve seen more views and more watch time for the videos. However, I don’t think it’s required when you’re just starting out, I think it can be overwhelming figure out what to get. So if you’re just brand new, you don’t need to grab all this equipment. But if you are interested, I’m going to link everything below so that you can grab any of this equipment that you find interesting to you in the previous video, we did have the current camera I’m using right now. But we didn’t have a lot of this lighting equipment. So I didn’t really know how to design a studio space until I watched Kevin’s dream studio course. And after I took that I bought a bunch of these lights. And I changed a lot of the things in my studio, you guys have probably noticed that you guys have probably seen some of my videos where I have the back light with the color some new stuff in the back to decorate. And I’m going to talk all about that in this video. So before we talk about lighting, let’s talk about the camera equipment we’re currently using. So since the previous video, I’m still using the same camera, I’m using the Sony a six 500. As you can see, it’s pretty high quality, I really like it. And it’s also really important to get a solid lens. So we have two lenses that we use all the time, we use the sigma 16 millimeter as well as the sigma 30 millimeter. They’re both f 1.4. So if you want that nice bokeh effect, which is basically like the blurry background effect, you can definitely get that with this lens, the one I’m currently using right now is a 16 millimeter. So it has a wider angle than 30 millimeter that 30 millimeters a little bit closer to me so that I have to kind of push it back a little further, and it gets less of the view of the space. So it kind of depends what look you’re going for. So sometimes I alternate. So with this lens, I’m going to get more of the background of the Computer table as well as the lights and everything like that. So that’s kind of what I wanted to get in this shot today. So I can show you guys more the studio. And for the microphone. I’m actually currently using the Blue Yeti microphone, but I also sometimes use the five five microphone that I’ve talked about in the previous video is the five fine case 678. The thing about that microphone, I normally put it on this table, but every time I slam on the table, you can hear it. So usually you should put it on that stand so that you don’t have that interference and that sound in the video. So that’s why I’m currently using the Blue Yeti which is attached to the stand. So I’m not going to be touching the table right now. And you know, it would pick up on that. So both the five fine and the Blue Yeti are high quality mics that you guys might want to check out now jumping back a little bit to the lighting. So in the past we had these umbrella lights, it wasn’t the best lighting. And now we’ve gotten a lot more understanding of what lighting you actually should use. So first, you should get a big key light. So a key light lights your face in the shot. It’s the primary light that determines 80% of your shot. The rest of the lights I’m going to talk about basically support the key light, but this is like the main light that you’re going to use and with a key light, you kind of position it to either the right side or the left side like a little bit off center. And then the cameras centered obviously, it’s basically a large diffused light source and the light comes from a big surface area.
The reason is that if the key light is too specific onto your face, it’s going to have these harsh shadows so you kind of want that diffuse large surface area lighting, so get a key light that has a large softbox that scatters light in all directions. The key light that I’m currently using is the GV M 100 Watt photography lights. And next we have this side light it’s on the side of me it’s on the left side actually so the works, this kind of helps to pop me out of the background a little bit more, it allows for less shadow on my face, right, so I have this key light on the right side of me. And then if I had it too harsh on me, it’s gonna have more shadows that I might want to get rid of. So this makes it a little softer with a sidelight to make it so that it kind of outlines my face a little bit more. So instead of being the most prominent light, it really just brings out that outline. Now with the sidelight, I’m basically using this three pack GVM lights, it’s all GVM lighting. And as you guys can notice in the back, I do have a blue light that is currently on right now. And it’s one of the GVM lights because it’s a three pack. So we have one shining upwards, and we have one shining from the side. And with these lights, you can change the coloring of it. So it makes it really cool. Currently, I have the blue lighting because I feel like it gives a little bit more of a tech vibe, a little bit more of a streaming vibe, I guess. So I kind of wanted to bring that in this video right here. But sometimes we turn off that light because it does look pretty good without that light on. So it just really depends on the shot we want to get. Now we also have these practical lights in the back practical lights are basically lights that serve as decoration. So you can even say that this monitor right now is kind of like a practical light as well. But the ones that I’m talking about that we did purchase were these two lights in the back, as you can see. But we recently did another update at the studio where we bought this L shaped computer desk, which I’ll talk about later. So it does kind of cover one of the practical lights right now. But I think that with the computer monitor as well as blue light, and sometimes that light up top, I think that’s enough for the practical life. But the way I see it is I can move the camera to different angles of me and I can decide how I want the studio setup. If I want the camera here, I’m going to get a totally different look. Or if I want to use the 30 millimeter, I’ll get a zoomed in look on my face and not get as many elements in the back. So it just kind of depends on the shot that you want. But basically with these new tables and things like that, that we’ve added, we can get different types of shots. For each video. Another thing we did was we actually used black film covering over the windows because what I found was as I started filming, sometimes I would film during the day and I realized that the natural light was conflicting with some of the lights that we purchased. So it made the shot look totally different in some videos than others. And I realized that we needed more consistency in the videos and that we didn’t want the natural light to kind of affect the shot. So I would always shoot during the nighttime. And that made it kind of inconvenient for me. But now that we have that film over the windows, it makes it so I don’t have to worry too much about that messing
up the shot or what it looks like. Now we have consistent lighting all the time without that natural light. But I do have to argue that natural light does look really good in shots. If you don’t want to use any of these other lights at all, you don’t have to because I used to film with just natural lighting. And that looks good as well. So let’s talk also about the new arrangement. So in the past, our computer desks were actually in the back. So we had two black desks in the back. And normally that’s supposed to be kind of our office studio setup. And then we also have our YouTube studio setup. And that made it kind of weird for me, I wouldn’t come downstairs actually because the way our room is right now the lighting is only really lighting up the middle of this room. And in the back over here, it’s kind of dark, it’s kind of dim, and it made me not want to go there. So a lot of times, I wouldn’t even use this office studio space for just working. So I realized I wanted to combine my YouTube studio setup with kind of like my office everyday setup, as well as possibly a streaming setup. So we’ve basically created a space where we can do all three of those things. Right. So number one, the YouTube studio setup is this way the streaming studio setup is basically here, I would sit in this desk, and I would basically probably talk to a different camera from this side and then share my screen as well. And then lastly, I would just do everyday work here now and it actually is really efficient. So what I did was I got this L shaped computer desk, I’m gonna link it down below as well, I’ve been able to kind of do a lot of my work there, I really liked the look as well. So we’ve been trying to keep this space cleaner so that it looks really good for these types of videos. It makes it so that I want to work there as well, as well as this brown desk right here. This one allows me to put my external monitor here so I can see what I look like with the film. So right now the Sony x x 500 doesn’t have a pop up screen where I can see what I look like. So the way I do it is I connected to an external monitor so I can see what it looks like right here. This desk is the QE QE study computer desk 55 inch and it’s available on Amazon like I’m going to link everything below. So this has been great because I can put my laptop here and link it to my microphone. And then I record the audio, have it on here as well as the video file here. So I actually do record separately the video and the audio, I can show you guys a little bit of my stream setup as well we got the Elgato stream deck. So if I want to start streaming more, I can actually use this to switch to different views. You can actually link different web pages to different buttons on the Elgato stream deck. You can even link mp3 files. So if you want some transition sounds like like you can actually press the button and then it will actually activate that so the stream deck is super essential if you want to start streaming and normally I would use OBS to stream my screen as well as me in the picture but then At the touch of a button on the stream deck, I can switch it back to the camera mode just on me. So it makes it really convenient that way. And this is not completely related. This is more about the streaming setup, but I also use the sky tech archangal For my gaming and just as my work computer, it’s a really solid desktop so it allows me to do a lot of work there on that white pier desk and I have dual monitors, one is vertical and one is horizontal, so I can see really easily what I need to and I can drag it between the two monitors to make it really easy for me to work. Lastly, aside from the practical lights in the back, we also added a lot of little trinkets, a lot of plants and things like that and it really adds a lot to the background. It probably shows a little bit more on other videos of ours but like basically those practical lights will shine it’s light on some of the things like plants and things like that and it gives more depth in the background by creating different lights on different furniture with different outlines and stuff like that from the lighting so it makes it really pop I think over just having a bland background in the back a lot of people have asked actually this brick wall thing and how they could get it this is actually just for some reason in this room. So basically this room I’m in is actually a garage converted into a room and if for some reason has this brick thing here so it’s not something I bought and put on in the back just FYI so I hope you guys enjoy this episode on basically breaking down everything we use for our YouTube studio setup. Now it just makes it so easy for me to do my everyday work as well as for YouTube and if I want to stream I can do that as well. Like everything we’ve done lately has made us I’ve spent a lot more time in this room because I can get a lot of my work done here so I hope you guys enjoy this episode. Again if you guys liked this video, make sure to comment below let me know if the studio looks good or not. If you guys have any feedback on how we can improve it, make sure to smash the like button subscribe, hit the bell button to be notified of my latest videos and I’ll see you guys in the next one.Transcribed by https://otter.ai