
In this post I want to do a quick Clubhouse tutorial so you can understand how to use Clubhouse – the audio-only chat room app that’s becoming extremely popular these days. I think a lot of people are confused at how it works as there aren’t too much info or tutorials, so I wanted to give an overview!
How Does Clubhouse Work – Clubhouse 101
Clubhouse is actually a lot simpler than you might think. Once you start playing with the app you’ll pretty much get the hang of it.
So first off, Clubhouse is invite-only so you’ll need to get an invite from a friend. I received 1 invite upon joining, and then an extra 3 the following week, and another 3 the week after that (this is as of December 2020 / January 2021). Make sure to use those invites wisely and invite people who will actually use Clubhouse!
Once you get in, it’s all about hosting rooms, joining rooms, and raising your hand to speak.
My feed is all about branding, entrepreneurship, passive income, and financial freedom because I followed a bunch of people in that niche. In order to see relevant rooms in your feed, you should follow people in your niche.
I would advise playing with the app each day so that you can get the hang of it. Clubhouse seems to be rewarding people who use the app more and more as well.
PS here’s a video version of this blog post:
Clubhouse Tutorial for Beginners – How to Use Clubhouse App
I’m going to go over the different functions within the app so you understand how it all works.
Start a Room
So what’s a room? Basically when you start one of these audio chat rooms, people will begin joining, and you can chat about whatever topics you want. There’s no text or video so you’re kind of on the spot, sort of hosting a radio show especially if you’re a moderator / MC. It can be anxiety inducing for introverts, but it’s a great way to get out of your comfort zone. And if you’re looking for ways to grow a following so that more people enter your room, read my post on how to grow a following on Clubhouse.
In order to start a room, tap the bottom green button when you’re on your feed. You can add a topic by tapping the top right of the pop-up as well! I would definitely recommend adding a topic so that the room is niche and people can enter knowing what it’s about.
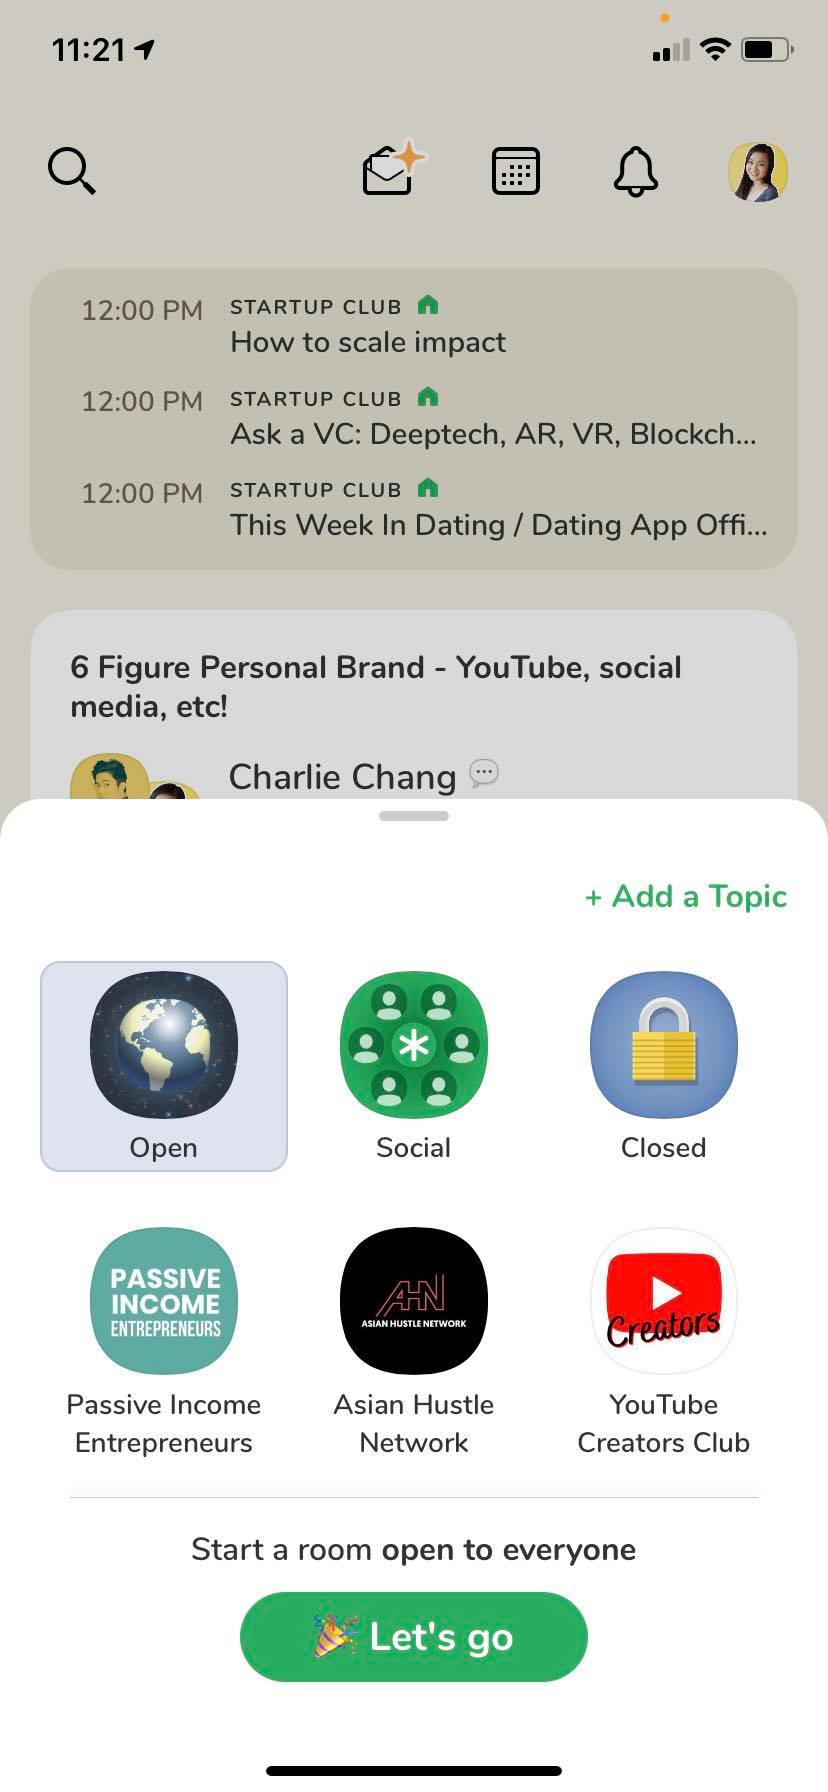
As you can see above, you can also start rooms under specific Clubs if you are a member of them (and if they allow you to start rooms under the Club name).
Start Events
Now if you don’t want to start a room right away, you can schedule an event.
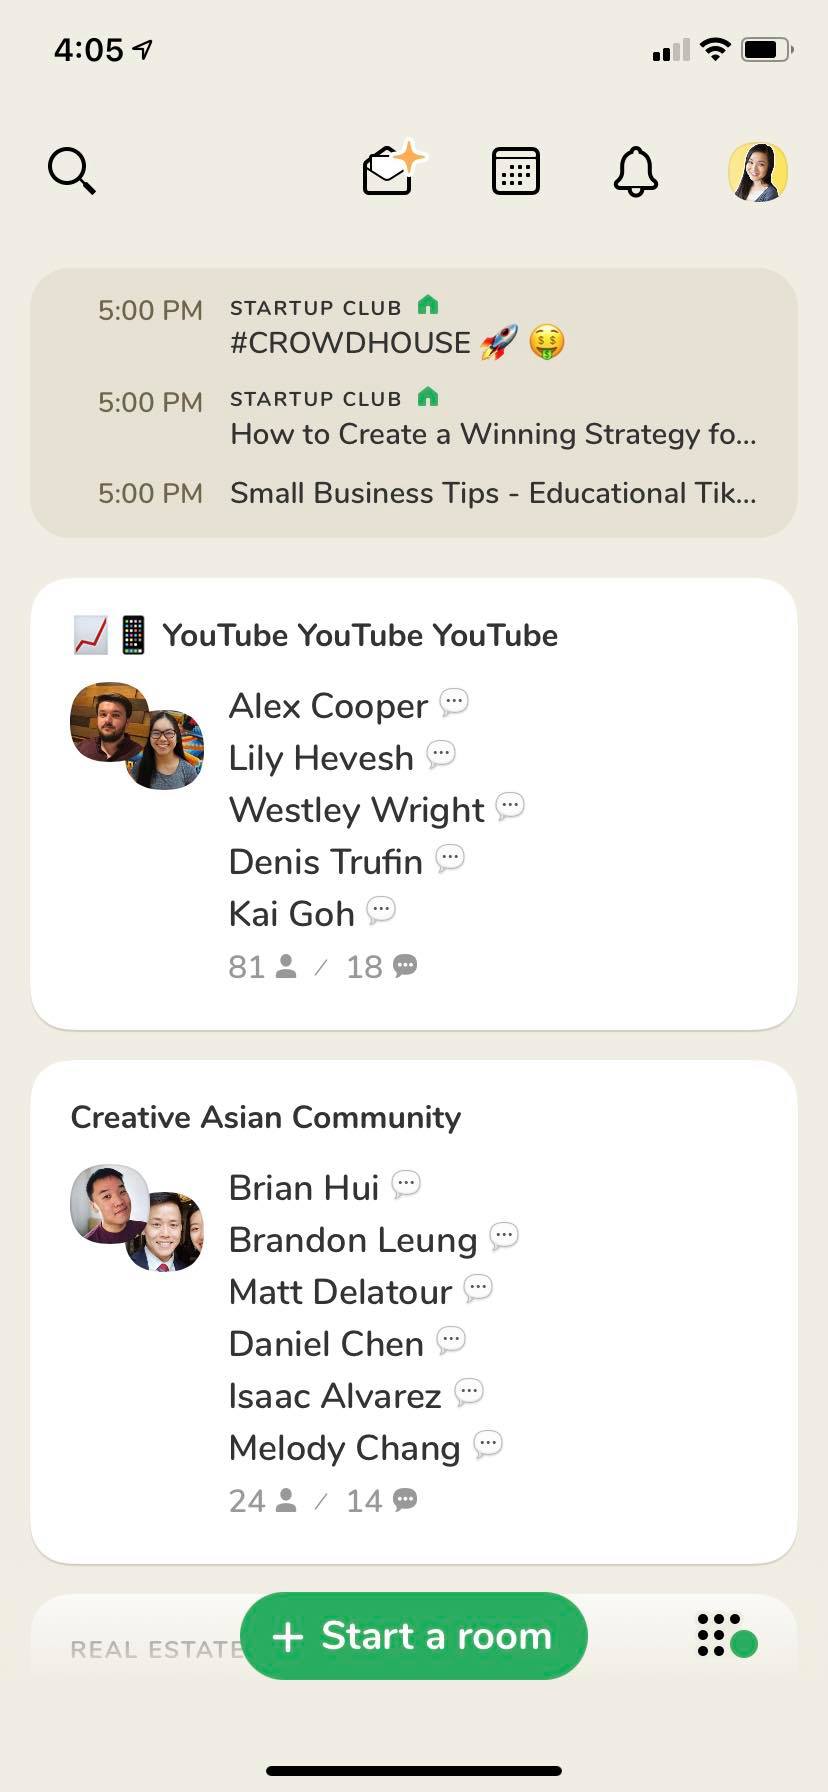
At the top of your feed you’ll see events that are scheduled, which you can join when they start. If you don’t have any events on your feed, make sure to follow users and clubs so that you can see more.
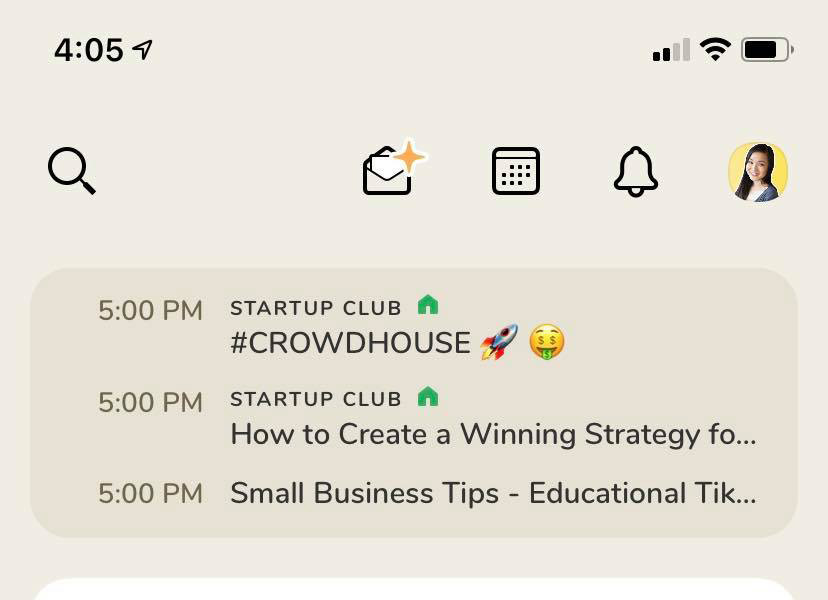
If you want to start your own scheduled event, hit the event calendar (the 2nd button at the top). There you’ll see the full list view of events coming up.
Once you’re in the event feed, tap the top right button to add your own event.
Here you’ll be able to add events like so:
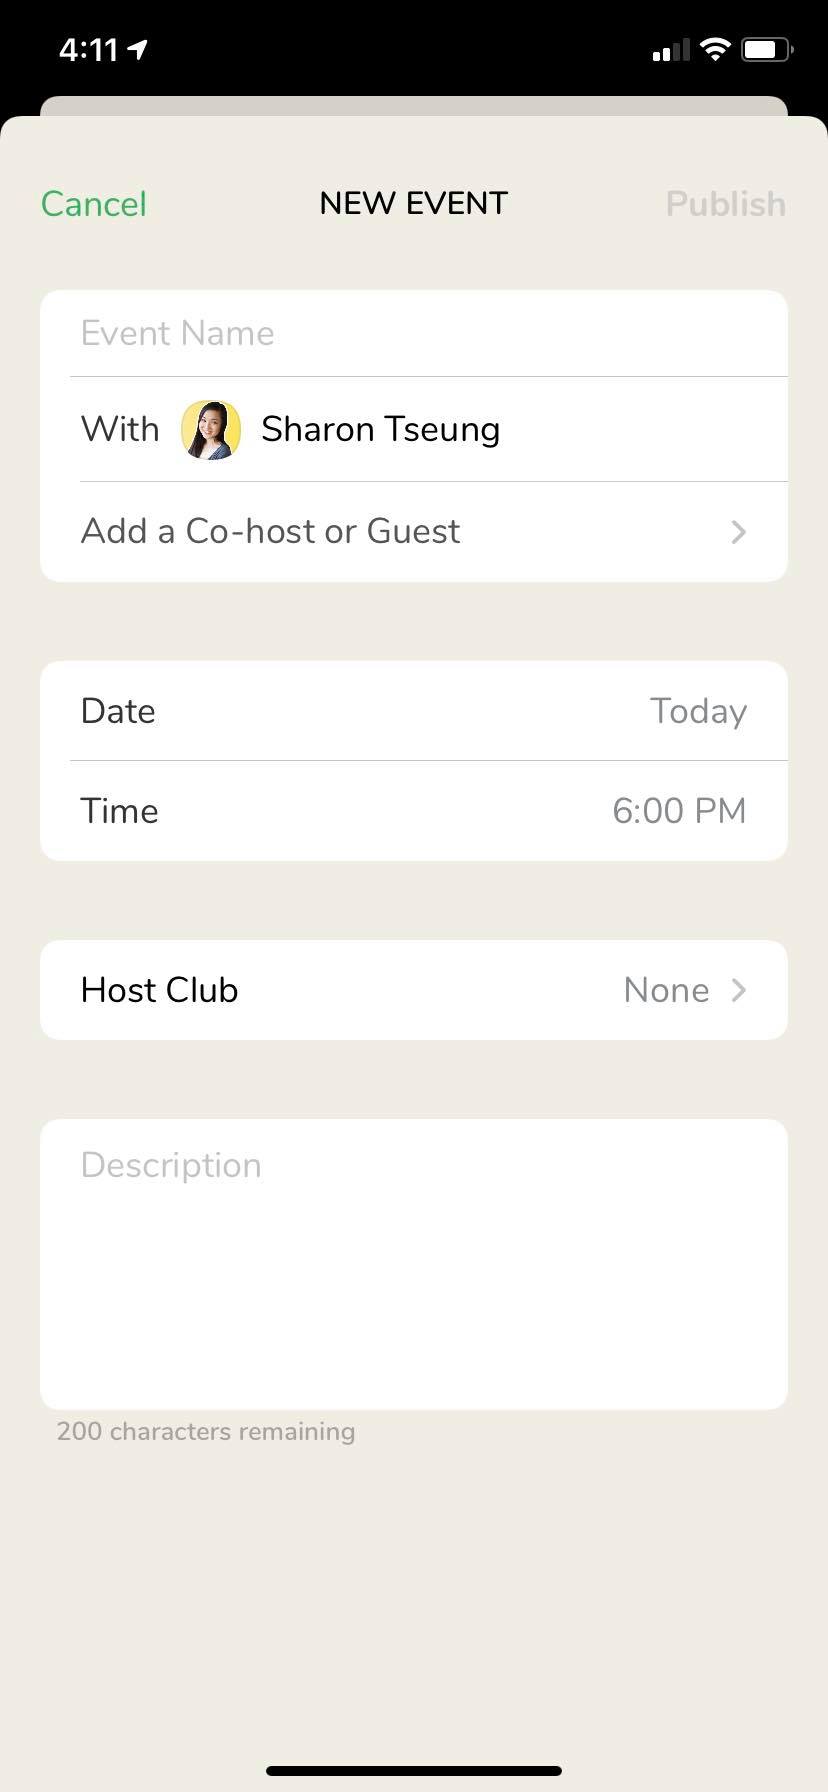
You will add your cohosts, your date and time, and your event title and description. If you own a Club on Clubhouse, you can attach it to a specific Club as well (basically an interest group that people can join – and members of Clubs will be notified of events when they launch).
How Rooms Work
So when you’re in rooms you’ll see that there is a “stage” where people are allowed to speak, and there’s the audience level. The stage will include moderators (with the green asterisk) and speakers (but not mods).
As a moderator:
- You can mute users when tapping users and pressing the microphone button on them
- You can bring people on stage – you’ll get notifications at the top when people have their hand raised – and you can approve them there. You can also approve pending requests from the hand + paper button as shown in the below screen shot.
- You will also be able to be able to tap speakers and move them down to audience level so that they won’t be able to speak in the room.
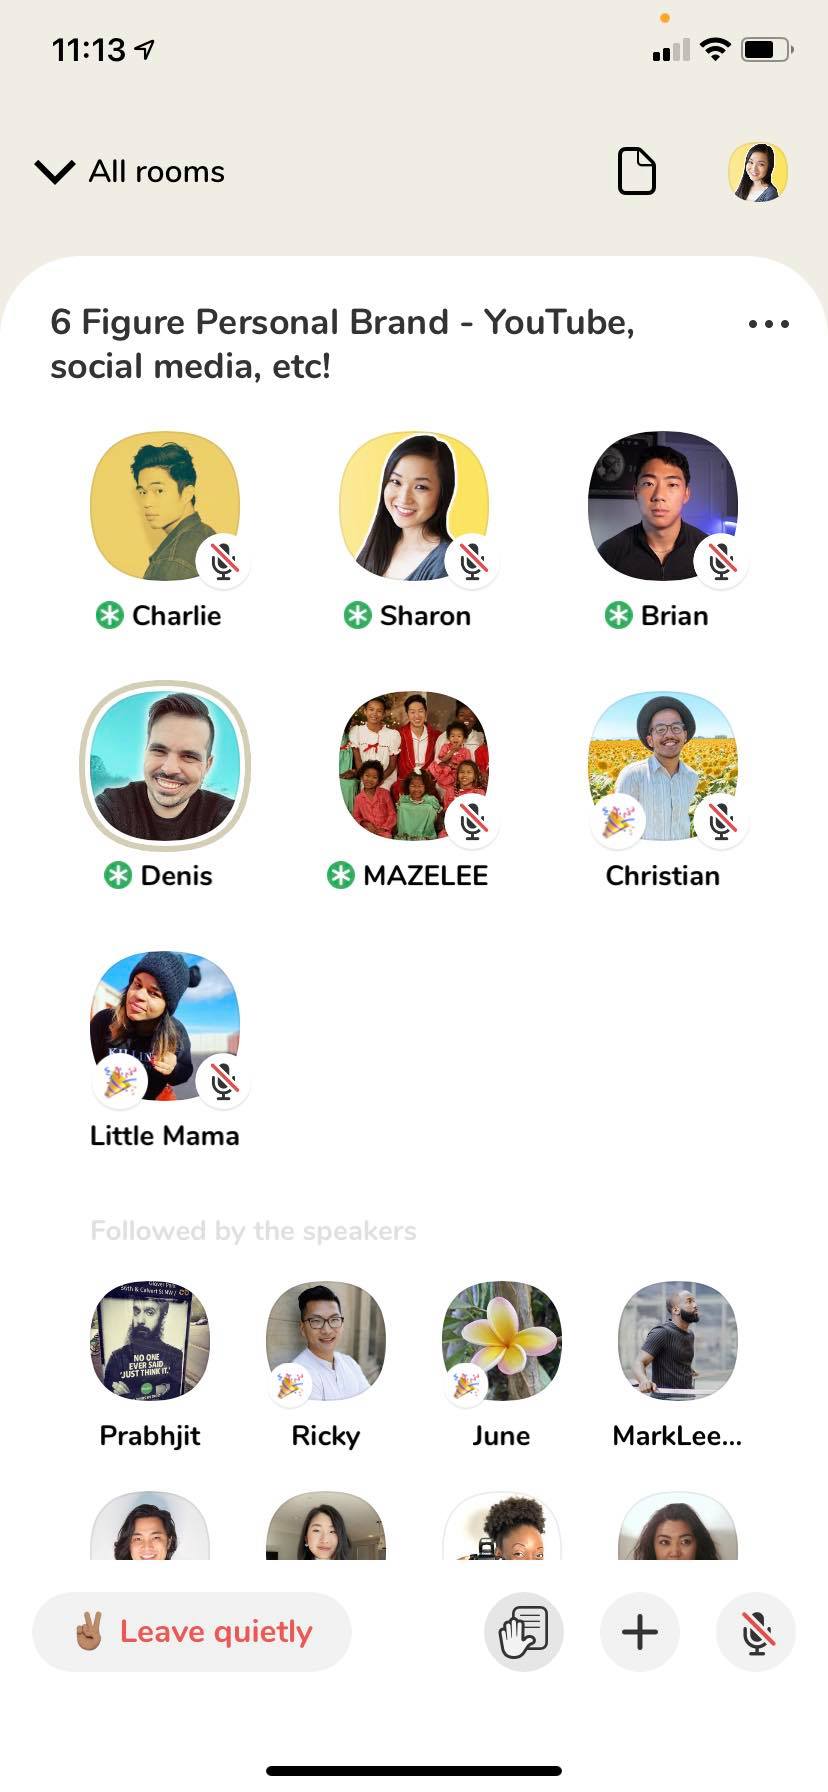
The audience level will be filled with people followed by speakers as well as others in the room.
When you’re in the audience level, you can raise your hand by tapping the hand on the right (but sometimes mods may turn off hand raising). If the mod accepts you and allows you to speak, you’re going to be able to enter the stage and speak.
Once you’re on stage, you can mute and unmute yourself when you’re trying to speak.
Everyone in the room has access to pressing the + button to people to join the room (it will show up as a notification for people).
Fill Out Your Bio
When you’re on your feed, you can tap the top right icon (the user profile pic) to edit your bio.
This is very important!
You need to make sure that you’ve fleshed out your bio so that you have more probability to be discovered and followed:

PS Follow me on Clubhouse @sharontseung if you want to learn about financial freedom and entrepreneurship!
So as you can see here, I fleshed out my bio and I talk about what my niche is, what I’ve accomplished, and why you should connect with me. The first line is important as well because when you search for users, the one liner is what appears right away.
Your Settings
From your bio, if you tap the top right button you can access your settings.
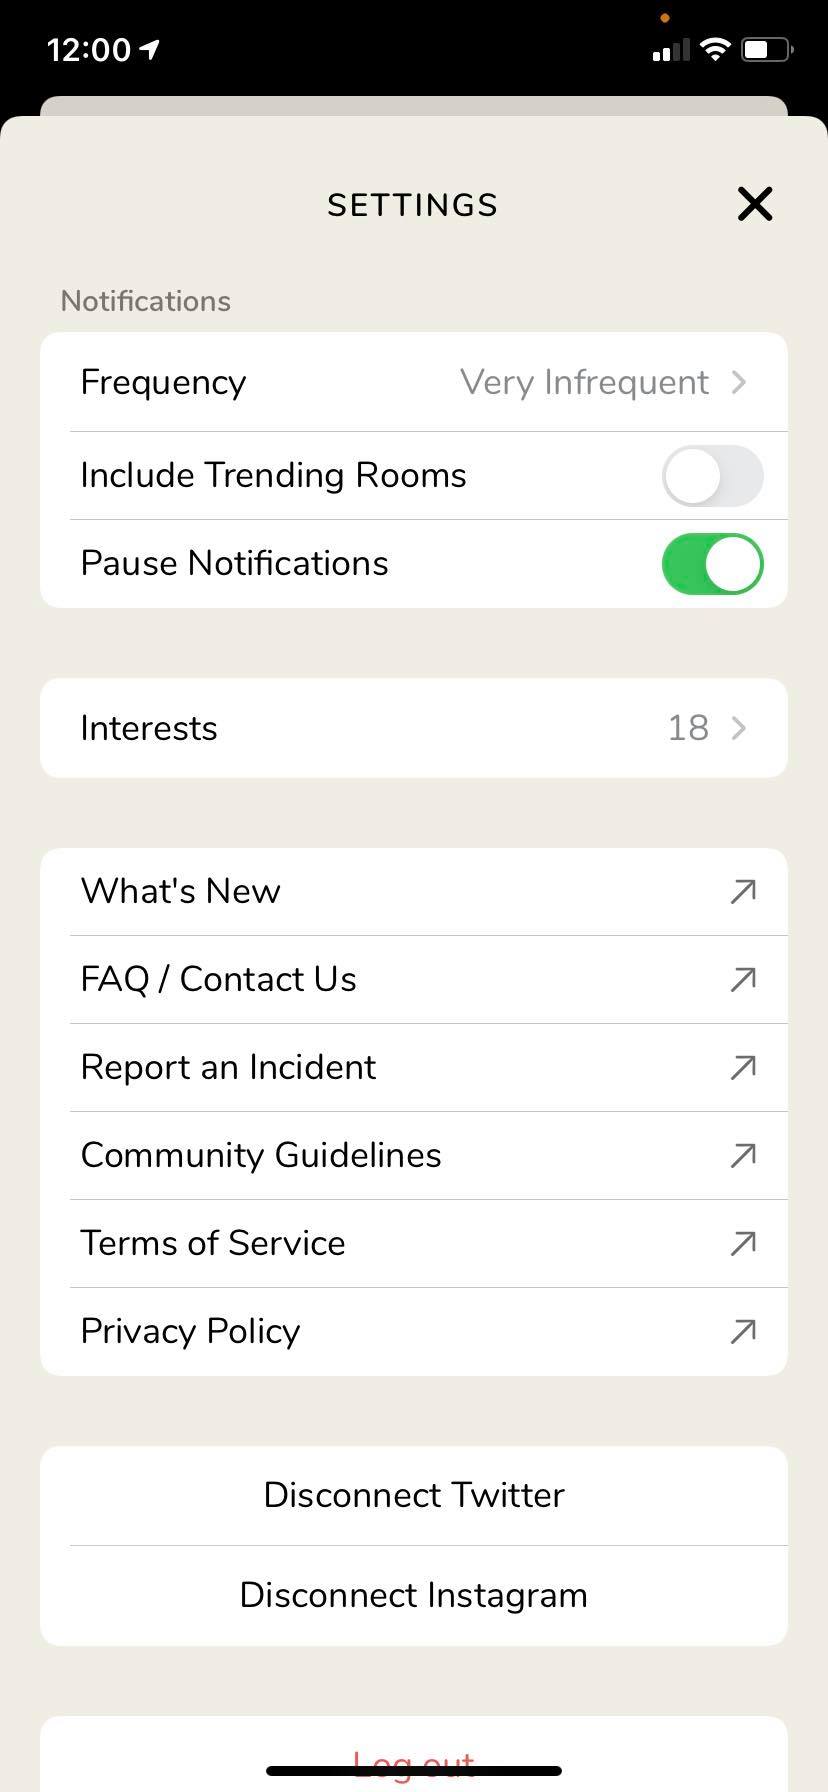
Here you can adjust your notifications and what that will show.
You can also set your interests, which is important to mark so that you can see relevant rooms based on the categories you set.
You will also want to connect your Twitter and your Instagram here. Your social channels will appear on your bio as buttons that link to your external public profiles, which is crucial for people to see what you’re about.
Your settings is also the place to report incidents, check out the community guidelines, etc.
Check Who’s Online and What Rooms People Are In
Now let’s go back to the front feed. When you tap the bottom right button that looks like 9 dots, you can see which users are online and which clubs are online based on what/who you follow.
How to Invite Users
To invite users, you can tap the button at the top with the envelope (2nd button on the top bar). As mentioned before, you will get awarded invites by Clubhouse as you continue using the app.
Search
The top left magnifying glass is your search button, and this is where you can find members and clubs to join.
Notifications
The notifications feed is quite self explanatory. This is where you’ll be able to see who followed you and what events the people you are following are scheduling.
Apply to Start a Club
Lastly I want to show you where you can apply to start a club.
Clubs are interest based groups that members can join. This will help you grow faster as it’s another way for people to follow and get notified when the club has new events.
Here is the link to apply for a Club. It took me 2-3 weeks to get accepted:
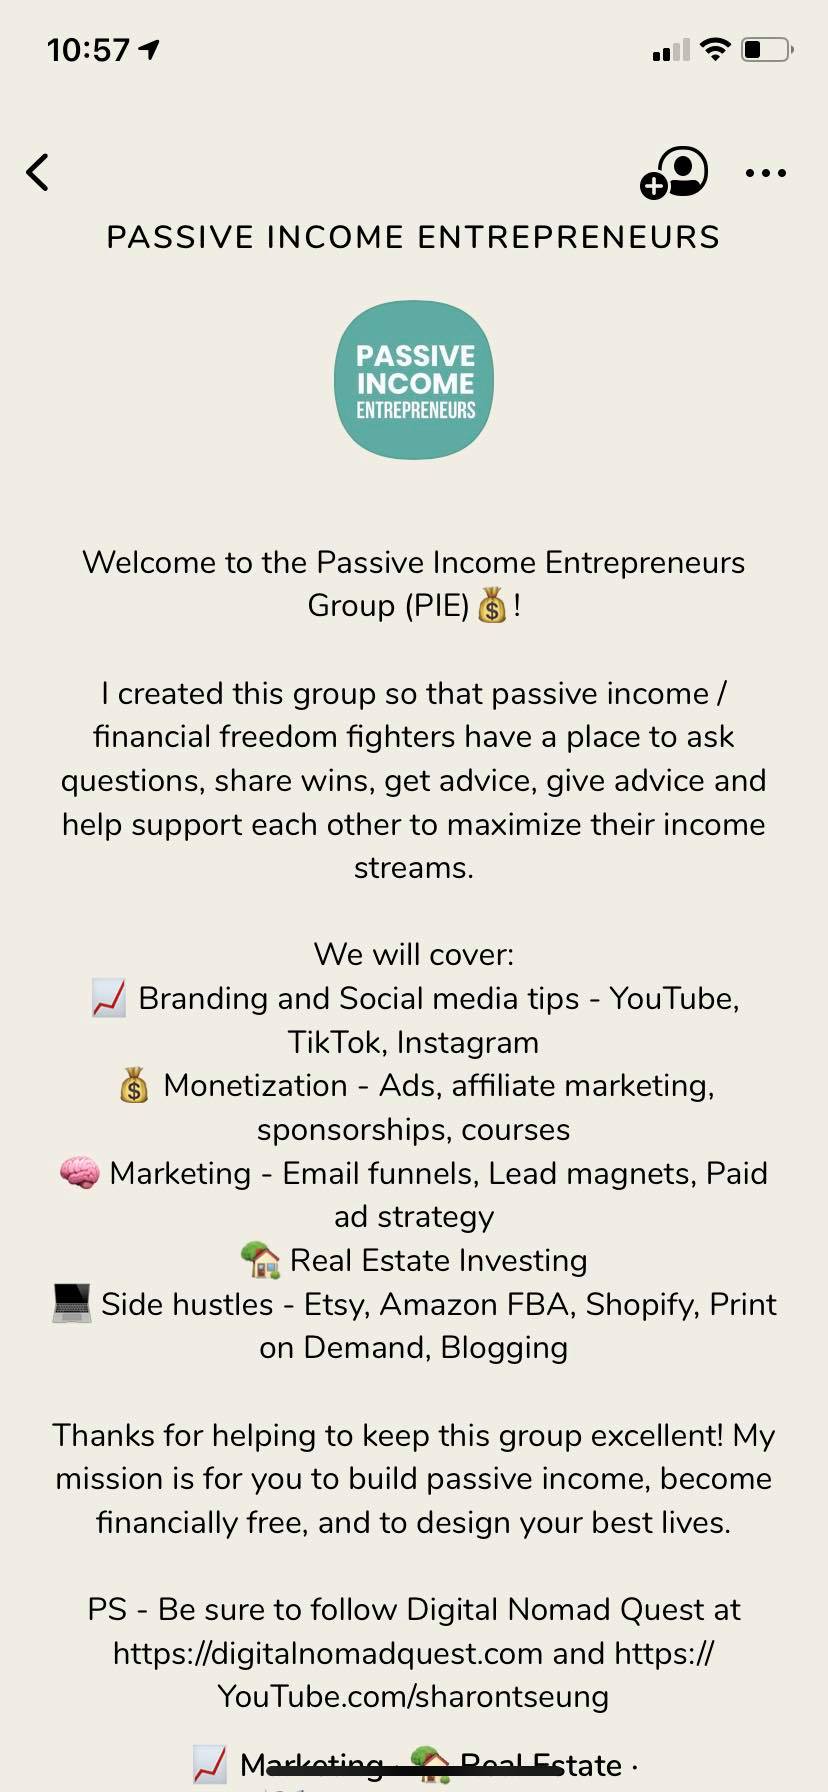
P.S. Follow the Passive income Entrepreneurs Club if you want more side hustle and financial freedom information!
Conclusion
I hope this was a concise Clubhouse tutorial that covers everything you need to know on how to use Clubhouse. Just keep joining the conversation and you’ll really get the hang of it! Let me know in the comments below if you have any questions around ClubHouse – I’m happy to help.
If you’re also interested in more Clubhouse information, check out these posts:
- Should I use Clubhouse? Pros and cons of Clubhouse
- How to start a Clubhouse room – 4 successful Clubhouse room ideas
- How to grow a following on Clubhouse
- How to make money on Clubhouse
