Here we’ll talk about how to start your blog. This is the ultimate guide to getting your domain, hosting, and WordPress setup! Great for aspiring bloggers. Enjoy 🙂
✅ ✅ Start your blog with Hostgator (Code: DNQ for 60% off!)- https://partners.hostgator.com/aDZRb
^ I recommend these resources for your blogging needs
✅ Join The BLOG LAUNCH PROFIT Course for an Extra $1,000/month blogging: https://courses.digitalnomadquest.com…
✅ If you want the step-by-step guide on investing out-of-state to buy rental properties, check out our course Remote Rental Riches! https://courses.digitalnomadquest.com/p/remote-rental-riches
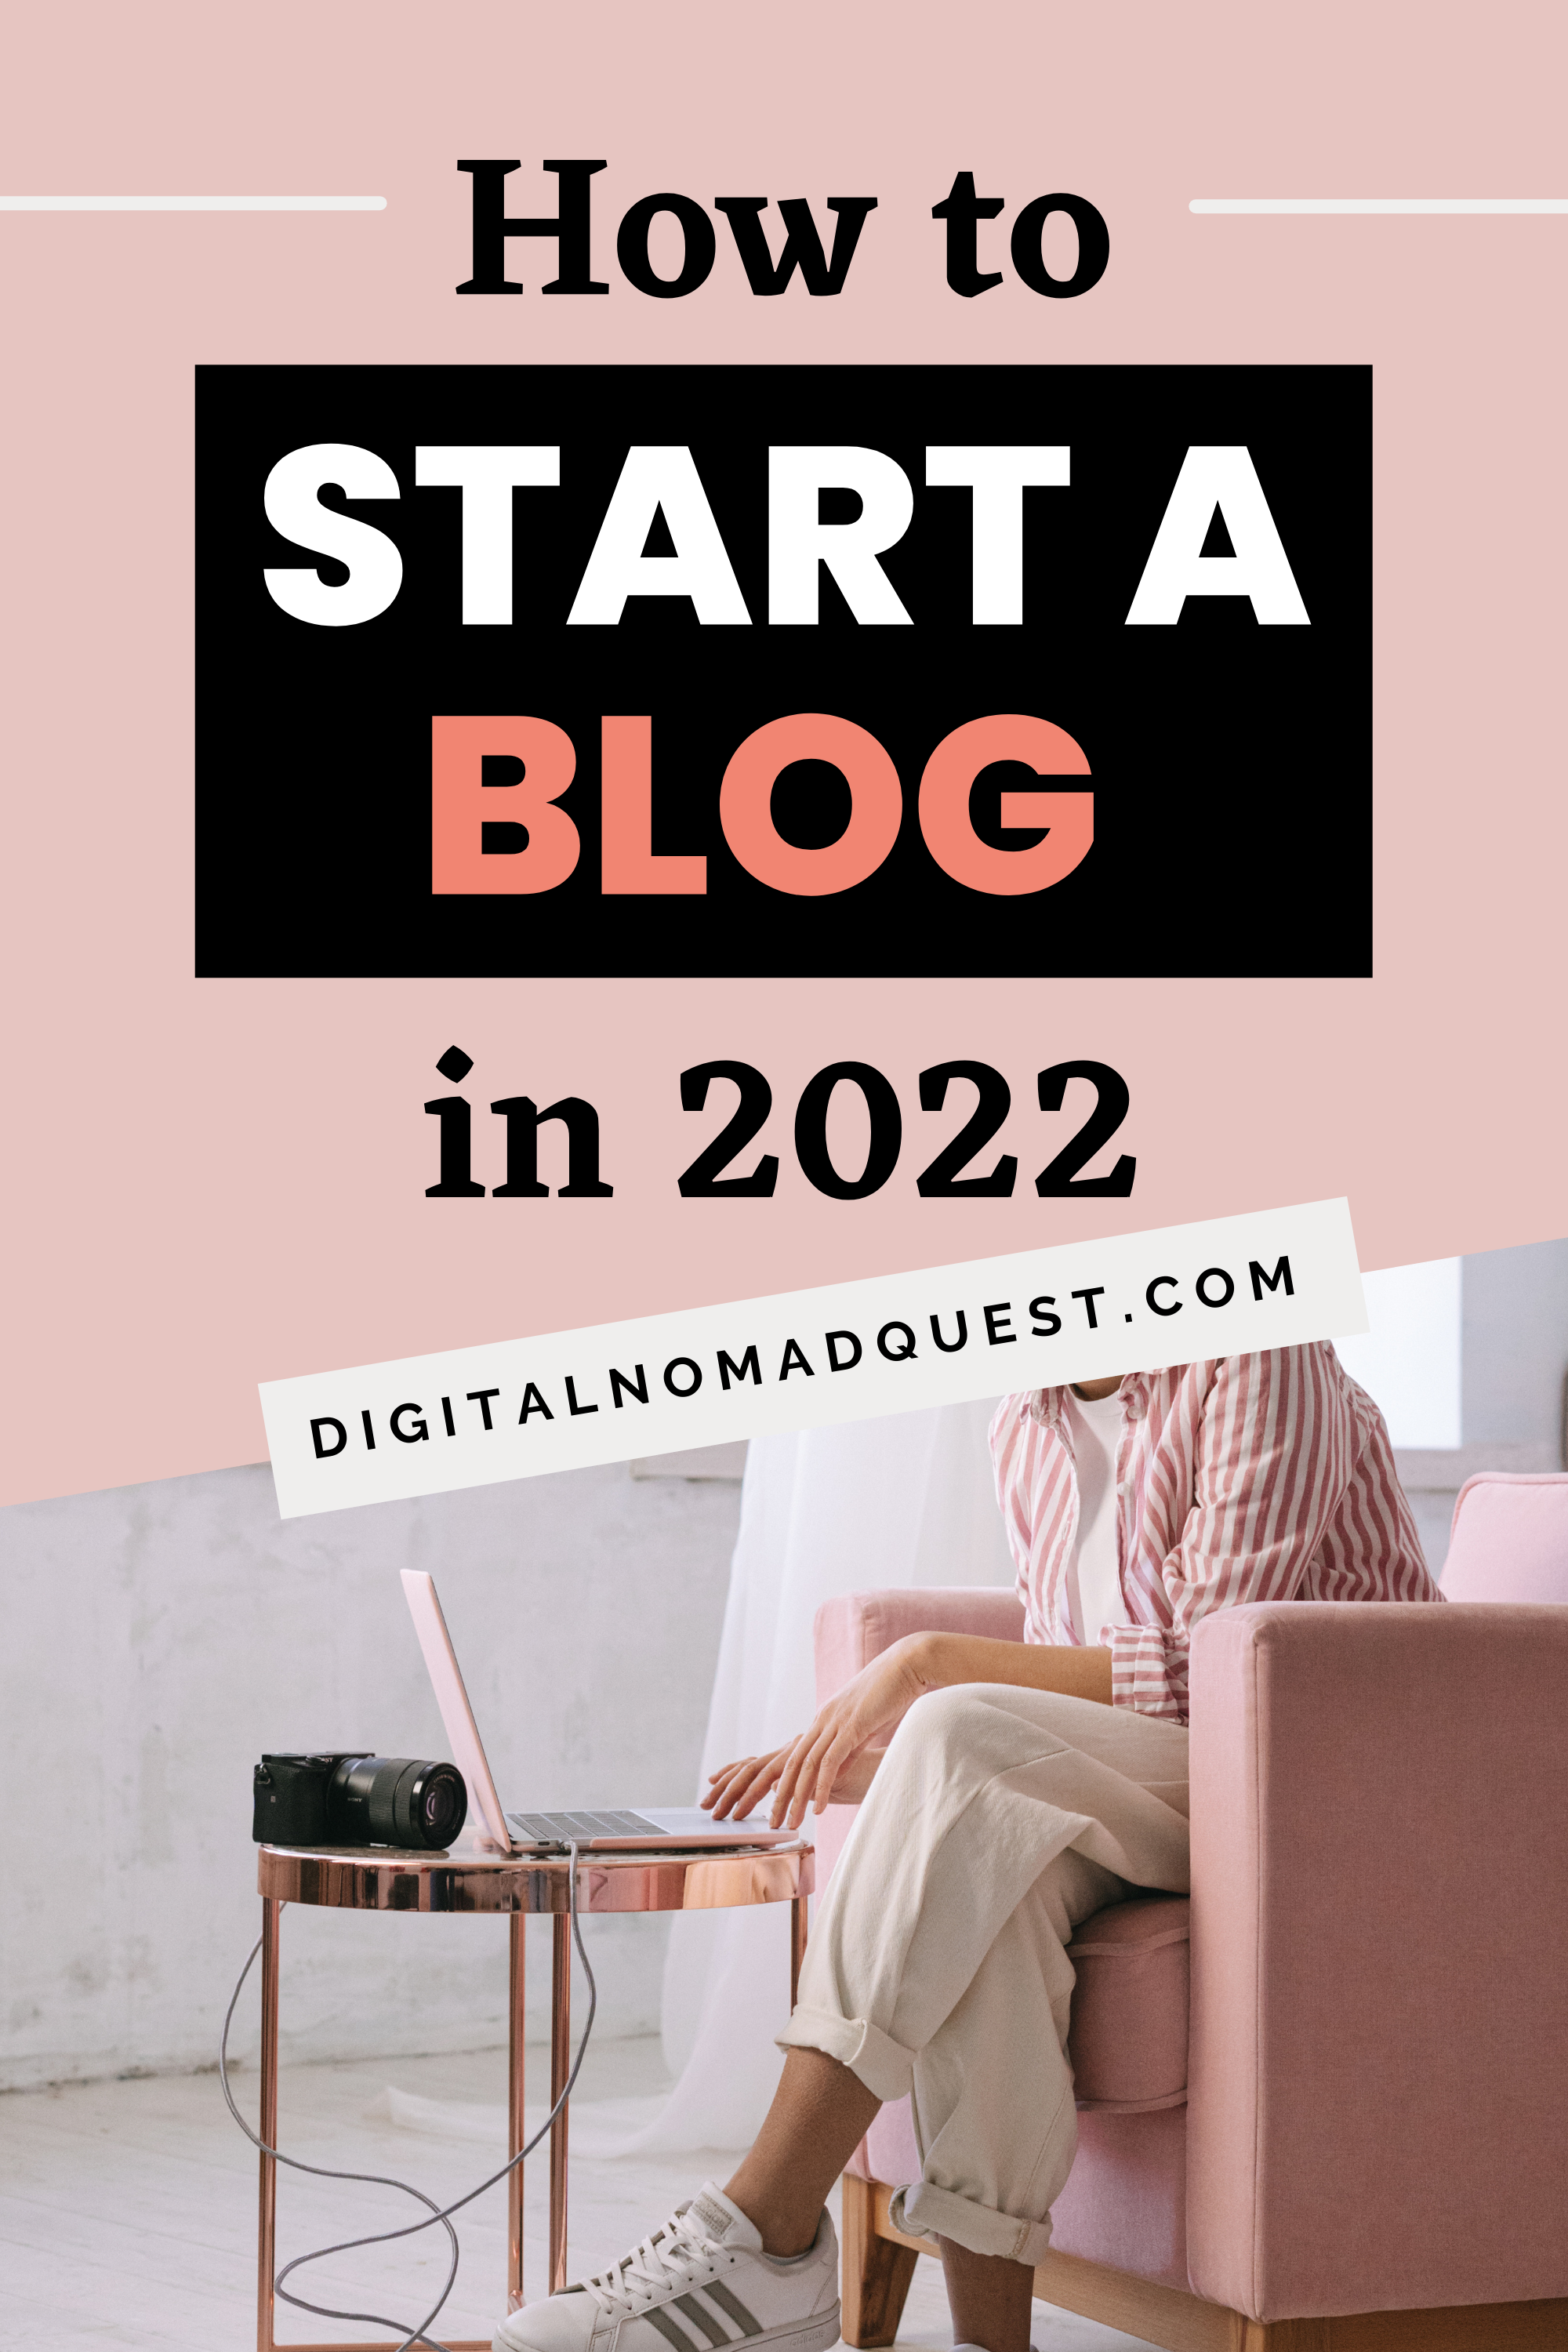
👩💻 How to START A BLOG in UNDER 10 MINUTES! (Build a $1k+/month Blog)
Transcription
Below is a transcription of the podcast. This transcription was taken from Otter.ai so it might not be completely accurate:
Hey guys, it’s Sharon from digital nomad quest. And today we’re gonna do the ultimate guide on how to start your blog from start to finish in under 10 minutes. Now, if you guys are new to the channel, welcome, I’m all about teaching how to build passive income become financially free and design your best lives. So if you guys are interested in that, make sure to subscribe and hit the bell button to be notified of my latest videos.
So I’ve been blogging for over five years now, and it’s been super beneficial to my brand. So we’re going to start off by going over some of the benefits to make you understand why you should start blogging. First off, it’s great for people who are more camera shy and they’re good at writing, they prefer to be in their PJs in bed, typing up a blog post, it’s a really easy way to start getting your information out there right away. Number two, it’s super awesome to be able to teach something you’re passionate about and make a difference. You might be interested in like magic tricks or biking or hamsters anything random, you can actually blog about it and even make money through it.
There are tons of people making money through the passions through these means. Which brings me to number three, you can actually make a lot of money blogging, for example, bloggers like Alex and Lauren from creating go, they’re making over $100,000 A month through blogging, and they only did it in about two to three years. And now they’re just scaling up their business. And you might be wondering if blogging is oversaturated if it’s dead, and I would say no, because back in 2018 actually made a niche site. And in just a few months, I started caching from that site that made me realize that you can still make a website and still make money from it. I just made a bunch of blog posts on that website that was comprehensive teaching about certain topic and it makes me money through affiliate marketing and ads. And then point number four, I would say that ultimately, if you are trying to build a brand, I would say it’s very necessary to start a blog no matter what even if you’re doing YouTube or just Instagram, it is important to have one because first of all, it’s professional looking.
Second of all, you can do email marketing, where you’re doing these free opt ins, where you know, you see people have these landing pages where they’re offering something free of value. And people sign up for an email list to get that free offering, it’s important for you to do that. Because you don’t know if these social platforms are going to shut down, it’s important for you to own your email list. And having social media is great. But if you have an audience, you should make sure to bring them over to your own domain. And then with your own blog and website, you’re going to be able to host and sell your own courses and ebooks and a lot of other different products. And it’s just important for you to bring those people over to your website, as I mentioned before, so yes, if you’re just starting a YouTube channel, make sure you are starting a blog as well. I know tons of YouTubers who have already started their own blogs, and they’re doing both simultaneously because they know the importance of both.
Now back to starting your own blog, we’re gonna break down how to sign up for your own domain and hosting. And then we’re gonna break down how to install WordPress. And then we’re gonna go over what WordPress looks like and how you can start using it to make your own blog posts. So we’re gonna do all this through Hostgator. So make sure to sign up with my link below. And we’re going to go over how to sign up in this next portion. But if you sign up through my link below, I will get a commission at no extra cost, you just really help support this channel.
If you like this video, it’s just a way to support me if you don’t want to use it, it’s okay, but if you do, thank you so much. And you can get 60% off your hosting plan by using the coded and q 60. So again, if you want click the link below for Hostgator and use dn Q 60 for 60% off. Now let’s go ahead and begin the tutorial. I’m going to start screen sharing over here. So now we are screen sharing I’m showing you guys HostGator HostGator is what I use and highly recommend for your hosting needs.
Now let’s get started. So click the Get Started button. And as you can see, there are multiple pricing plans. There’s the Hatchling Plan, the Baby Plan and the business plan. So what I use and recommend, and what they recommend is the Baby Plan. So the reason I like it is this part, the unlimited websites. So what that means is if you start your blog, and later on, you’re like, you know what I do want to start some other websites, you can actually host all of those websites under the Baby Plan, you can create as many domains as you want and hosted on that hosting plan. But as you’re starting out, you could go for the hatchling plan and then upgrade later so you can upgrade and downgrade after you’ve purchased this stuff, so don’t worry too much. And later on, if you really want to, you can totally upgrade to the business plan.
Now let’s just click by now on the hatchling plan to show you guys how to set up one website. So first, you’re going to enter your domain, I’m just going to put an example like this. So this is blogging and world.com. And as you can see, it’s free right now it’s available if it weren’t available, it’ll tell you. So this is this is available right now. And also I really do recommend going with.com You know, most websites are on.com and highly recommend to do that one. Now as you scroll down there is this 1495 per year. Domain Privacy Protection actually do recommend going with this. Because basically if you don’t select that and people would be able to find your name, your address and your email and phone and all these things if you don’t add this privacy, so if you’re worried about that I would right recommend adding that domain privacy protection.
Alright, next, you’re going to choose that hosting plan. So you already put in hatchling, but you can totally change it to baby your business right now, as you can see here at three years, it’s cost 275 per month. So you get the most discount by doing that. But that’s the initial discount it over a new at this rate afterwards. But as you can see, if you just did one month, it’ll stick at that 1095 beat in 12 months, there’s a discount, but that discount stops after renews. So I actually usually purchased the biggest plan because I know I’m in this for the long run, right. So I do the I do the bay plan, and then I do it for like three years, so I get the most discount, then you’re going to create your Hostgator account, put in your email address and password. And for the pin, make sure you kind of put that somewhere safe, because you’re going to need that pin, if you’re going to call HostGator support, they’re going to ask you for it. So make sure you know what it is. Now you’re going to put in your billing info. And then there’s these additional services. So I actually normally don’t use these, but it’s all optional. If you want to add it, go ahead.
So for the site backup, you could probably get a plugin that allows you to backup your website, it is important to backup your website. But you know, if you want to do it this way, it’ll do it for two bucks a month, the SSL certificate you have free SSL, so I’m not too worried about that. And also in your cPanel, you’re actually going to be able to create your own email addresses. So I’m not too worried about that as well. Like I have Sharon at digital nomad quest calm, and it’s all good. So I don’t actually select this, like I don’t really select these for SEO tools. I use Yoast I’ll, you know, go into that in another video. But basically, I wouldn’t worry too much about this. But again, if you want to go ahead and select whichever one you want, totally optional, totally up to you, if you want these additional services. Afterwards, you can enter a coupon code. And right now this one’s included. But like if you don’t have one, you can go ahead and do dn q 60. And that will give you 60% off.
Now after you review your details, you can see you got the hatchling plan for three years, and you have this domain registered for a year for free. But afterwards, you’ll need to renew that. And you have that hosting add on of that privacy protection for about $15. And it’s basically $121 for three years. So after that there’s also these terms is everything’s gonna renew unless you cancel it. This is just saying that you agree to those terms. And then afterwards, you’re going to check out. Alright, so now you have purchased your hosting and your domain from Hostgator. And basically, you’ll have your login credentials for your dashboard. And there’s also going to be a section where you can click into your cPanel. And this is where this part begins, where I’m going to go over how to install WordPress.
But first of all, it takes some time before it’s all connected. So it might take about 24 hours for your domain and your hosting to get connected. So look back and check for that. And then afterwards, going to your control panel here, your cPanel, right. And what we’re basically going to do is we’re going to install WordPress. So if you scroll down below, and you’re gonna find quick install, so click that. And you’re gonna click WordPress. And here you’re going to be able to install, so you’re going to look for the domain you have, and then click Next. And you’re going to enter your blog title. So here, it’s just your title of your blog, and then your admin username, that’s what you’re going to use to log in. And I’ll show you how to log in later. And you are going to add your first name and your last name here, and then put in your email address here.
Afterwards, go ahead and click Install. Take some time and WordPress is installing and wallah, you already have your installation complete, it’ll give you the installation details here, it’s usually going to be your domain.com. It’s like blank.com/wp-admin As you see here. Now, let’s go into that part. And we’re going to go ahead and log in. Now paste in your email address and then paste in the password we talked about. And then you’re going to be able to access your WordPress dashboard. Alright, now I’m going to show you the WordPress dashboard. This is basically where you are going to start blogging. And you’re not going to have all of these different things on the side yet unless you start installing plugins. But let me just go over the basic functionality. First, when you look at your website, it’s going to be a very basic design. So if you go to appearances and themes, this is where you’re going to basically be able to customize your theme. And what that means is basically your design and they have different themes that you can use for free and when you’re first starting out this is is totally fine. But you may want to upgrade to a paid theme in the future because it will ask for more customizability. But let’s go into the free ones I actually use morning in the beginning. So you can look at the preview here, I’m not going to activate it because this is my own website right now. But I’m just going to show you what that looks like.
Okay, this is not completely accurate, because I’m previewing it from my current theme. I’m currently using x theme. So it’s probably taking elements from it right now. But basically, you can totally activate these free themes. And you can go ahead and start blogging.
Let’s go back though. Basically, in order to create blog posts, you just go into posts, and you can start adding new posts here. And those are basically your blog posts. But the pages are the ones that are static. So maybe like your about page or your contact page. Those don’t have like dates on them. But blog posts usually are dated by certain author and stuff like that. So they’re a little bit different posts and pages. But that’s where you’re going to start blogging. And then also with appearances, you can create your menus. So if you click on appearance to menus, you can basically organize your entire menu here, the nav bar at the top, these are the different things that you can basically customize for your own website.
The most common ones are the blog, you know, the about page, the Contact page, you might have a Start Here page, you might also categorize the different parts in your menu. So you can click categories. And you can add different categories. On to your menu, you basically attach different posts to categories. As you start writing posts, you’ll see that category apart under it, you can categorize those different posts and put that into a menu item, you can also go into Plugins, and these are different plugins I use. But basically you can add new plugins, and you’ll be able to look through what they have on WordPress. And there’s a lot of different things you can install. And there’s a lot of different customizability options. So go ahead and try these different plugins out that might make sense for your website.
So as you start playing around with your blog, and then you start upgrading to those paid themes. And you continuously get more experience, your website can start looking more like this as you first start out, don’t worry too much about getting it to look amazing right away. This took me maybe five years to get it to where it currently is at when you first start out, just start getting your thoughts out start writing blog posts, start playing with it, and the more experience you get, the more you’re going to keep upgrading so don’t worry too much about it just get started.
So hopefully this all made sense. And you can start blogging right away with your new WordPress blog. So I hope you guys enjoyed this tutorial on how to start a blog from scratch in under 10 minutes. I actually taught my boyfriend how to start his own blog and we did it in under 10 minutes. So I know you guys can do too we went over how to sign up for your hosting and your domain how to install WordPress and what WordPress looks like and how to use it to start your own blog posts. Let me know in the comments below what blog you actually set up and make sure to smash the like button subscribe hit the bell button to be notified on my latest videos and I’ll see you guys in the next one. Transcribed by https://otter.ai